Somin Sarno and Yikang Bin
After weeks of learning how to map, survey, and shovel test a site, we finally did what people typically consider when they think about archaeology–excavation! Our focus in this lab was continuing our exploration of the machine shed, a place in Olin Farm probably used in its time as some kind of hotspot for housing farming equipment for the Olin family and a place to put butchered animal bones, perhaps from the nearby hog and cow farms. Given the vintage artifacts, including 50’s toothpaste tubes and 70’s dining ware, and after talking to some alumni, we think that this place also served as some kind of hub for students to hang out in after the machine shed was no longer used for its original purpose. Excavating small portions of the machine shed site gave us a lot of evidence supporting our hypotheses about the various uses of the machine shed throughout its history.
As archaeologists who want to neatly keep track of our finds, the way we divided our labor had to be organized and systematic. In our lectures and readings, we learned that there are many ways archaeologists ensure that they are carefully maneuvering and keeping track of a site and what they find there. There is the method of using computer software like ArcGIS to visualize and section our location through digital mapping, using flags to mark squares of land we’d like to explore, screening dirt we dig in case there are artifacts in the soil, and putting what we find in plastic bags with labels. The new method we discussed for this lab included the Harris matrix (figure 1), a visual diagram for the kinds of soil surrounding objects we find as we dig.

Before excavating, our class practiced making our own matrices given pictures of soil layers. We found that, depending on the student, there are many ways of interpreting and organizing layers of soil, but that the main purpose of doing so was to make sure we were keeping track of our finds in an organized way. Making matrices would help us later when we want to check what kind of context or environment an artifact was from.
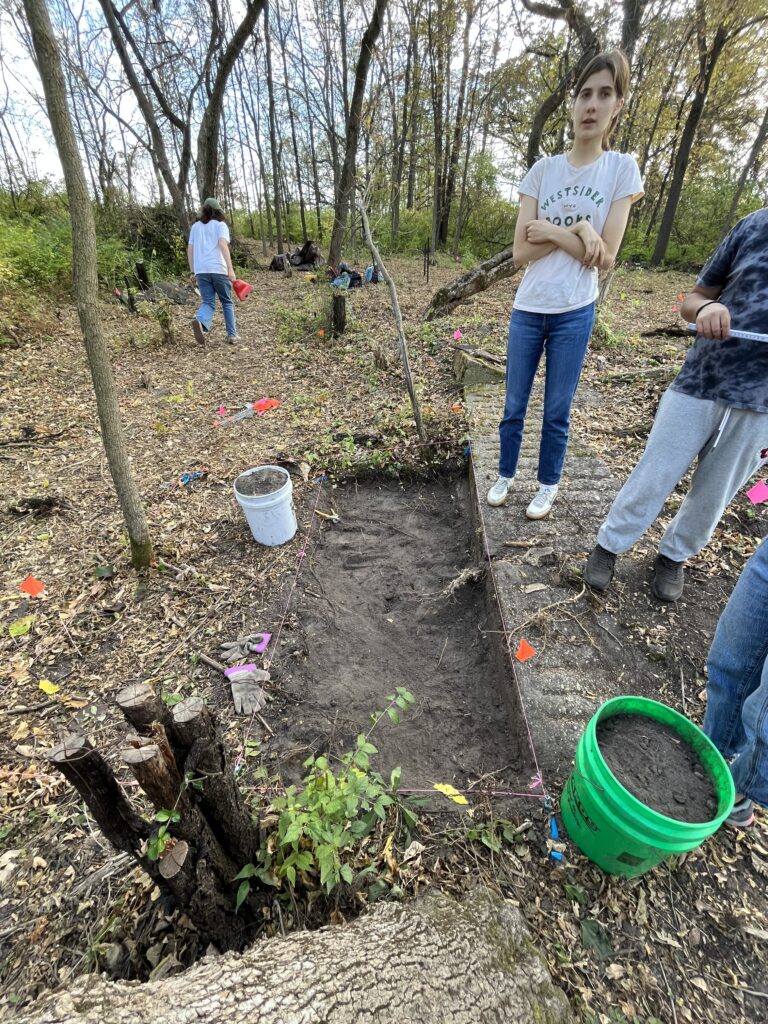
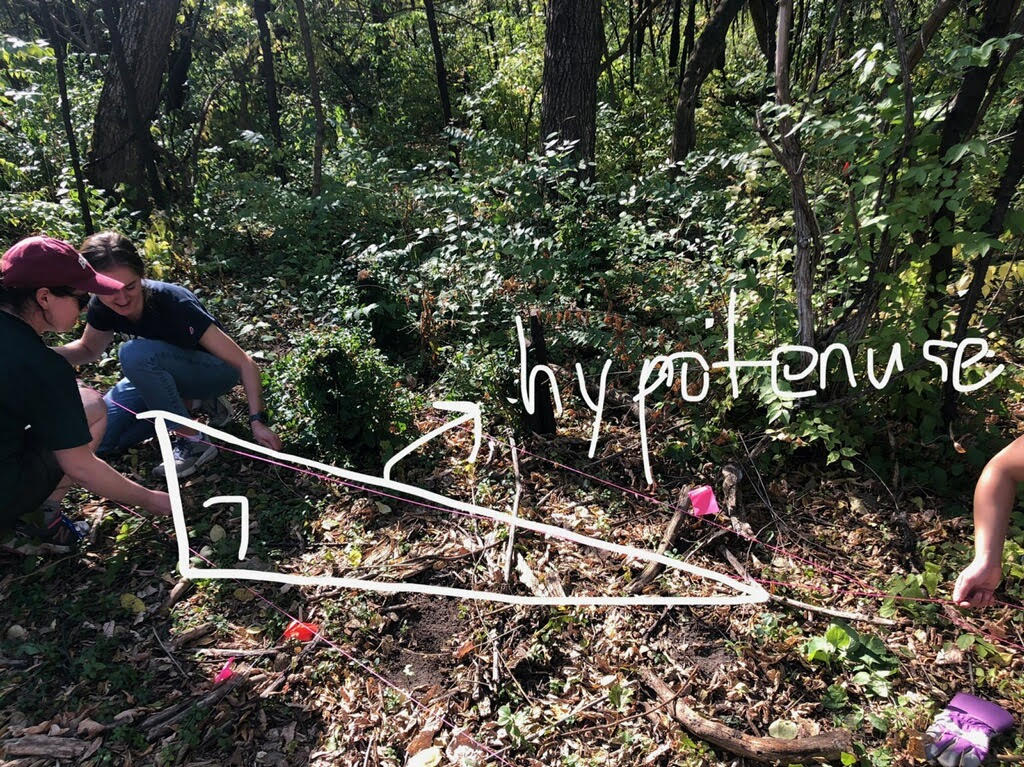
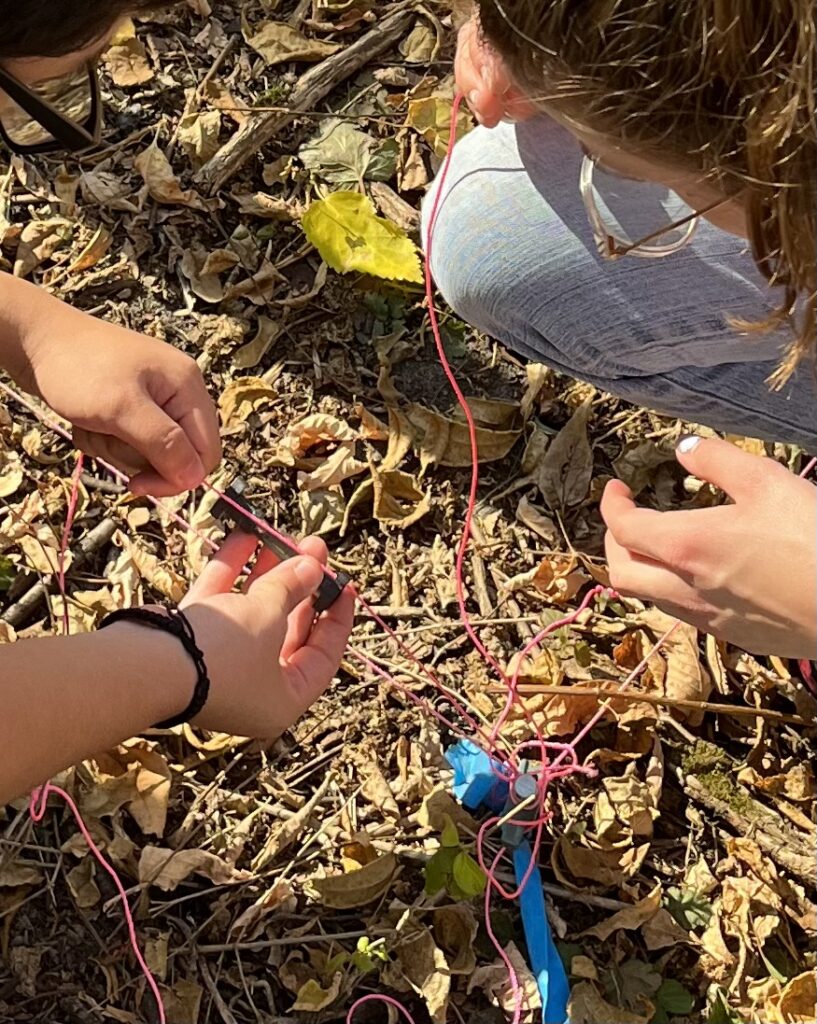
When it came time to excavate, we used tape measurers to measure the height, length, and hypotenuses (figure 2) of the excavation units and used line levels to see how flat the units were from the ground surface. To mark our measurements, we cut and tied colorful strings to identify the boundaries of our excavation units (figures 3 and 4). The way we chose our excavation units was based on what we thought would have the most artifacts based on our observations from previous labs, as surveying showed that there were more artifacts on the surfaces of the places we chose to excavate, suggesting we could find more underneath. Then we used a variety of excavation tools – shovels, trowels, brushes, and buckets – to start digging up the first strata (i.e., soil/rock layers) to see if our finds aligned with our initial assumptions of what we thought would be in our units.

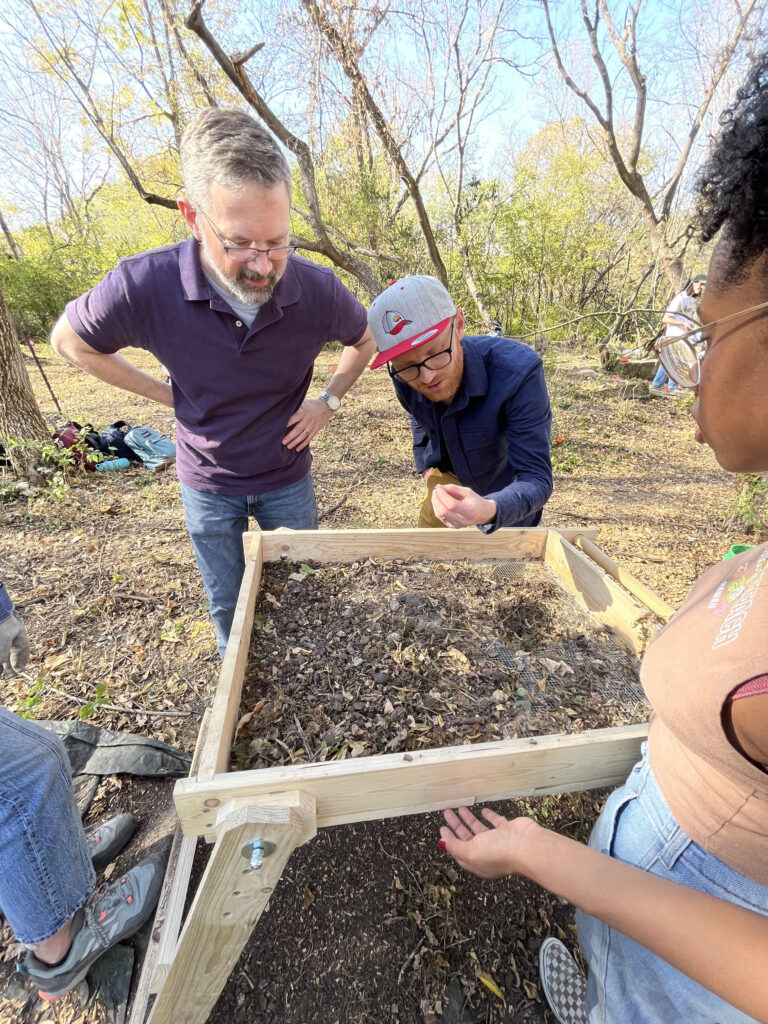
Our method of digging was to dig the soil using the sides of our trowels and to use the trowels’ sides instead of jabbing the dirt with them helped us be more cautious about peeling each stratigraphic layer–like how one would peel layers of a carrot–to keep track of the layers. In between layers, we took pictures of the newly dug levels, screened the dirt for each dig, and collected artifacts in separate plastic bags. We kept track of the layers and the objects we found in them using sheets where we described the soil, the tools used and a “plan view,” which unlike a vertical drawing which would tell us what we find as we dig down into different strata, this kind of drawing shows what artifacts we find on a horizontal plane, or their arrangement on a layer (figure 5). The tool we used for screening was a silt, which you’ll notice from previous lab summaries is a common tool we use in archaeology (figure 6).

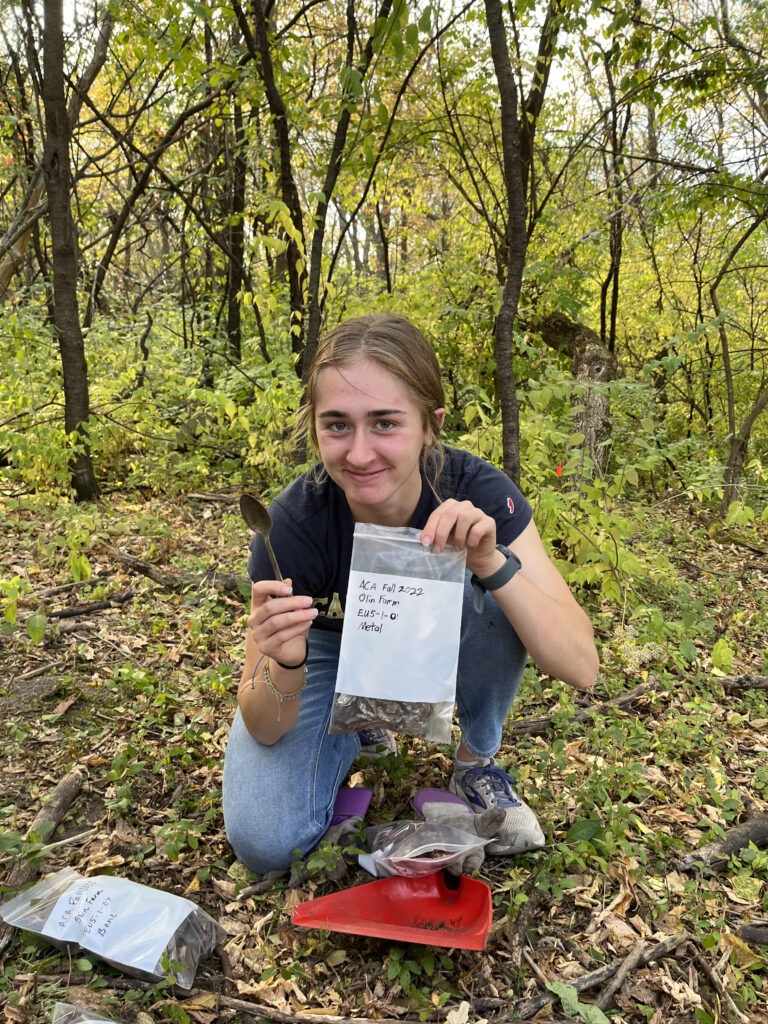
In one of our units, we thought there would be more ceramics in it from seeing ceramic sherds on its surface in our surveying lab, but digging this area produced far more animal bones than we’d initially assumed. Given their size, these bones were likely from hogs. Accompanying these bones were spoons and other dining ware, like an old glass cup with a Carleton logo on it (figure 7). We think it’s interesting to see animal bones and dining ware in the same stratigraphic layers, as their placement could suggest that the people of the 50’s or 70’s, depending on the exact dating of the dining ware, intersected with hogs and chickens in the area. The impact that these animals had on people at the machine shed is not clear to us yet, and we don’t want to make any totally unrelated assumptions. But we still think that this find is interesting in contextualizing the machine shed and understanding how important it is to keep track of our finds in a structured way, giving us clues about how artifacts are grouped in an archaeological chronology.
Compared to other units, the one with dining ware and animal bones had the most artifacts. In other units, we found concrete pieces that were probably part of the machine shed and large chunks of slag, which is a solidified form of stone waste produced by smelting, a sign that metal work took place at this site. These artifacts came in larger numbers the deeper we dug. Although pieces of rock were not as interesting to us as the bones and dining ware since they were not as unique in their appearance and connection to people in the past, what we learned from this lab and as curious archaeologists is that any artifact found in excavation is still important. Perhaps the large abundance of rocks towards the bottom of our units suggests more of the machine shed is at the bottom of where we’re digging. We have yet to figure out the meaning behind the number of rocks at the bottom of our units, and we look forward to finding out, hopefully, in the coming labs. In the meantime, we covered our excavation units with tarps for protection from animals and people who might come to our site, and we will revisit these units next time (figures 8 & 9).